Posts mit dem Label jewelry werden angezeigt. Alle Posts anzeigen

25.10.2015

POPPY COLLECTION / PENDANT


Tool & Materials: Card disk (Poppy Ring), flat washer
(optional: Hama bead), chain, a piece fake leather, jewelry glue and scissors.

/ Werkzeug & Material: Kartonscheibe (Poppy Ring), U-Scheibe
 (optional: Hama Perle), Kette, ein Stück Kunstleder, Schmuckklebr und Schere.


Lightly trace the outline of the card disk in pencil.

/ Den Umriss der Kartonscheibe mit Bleistift leicht nachziehen. 


Apply a liberal amount of glue to the back of the leather. Gently put the disk on top of the glue
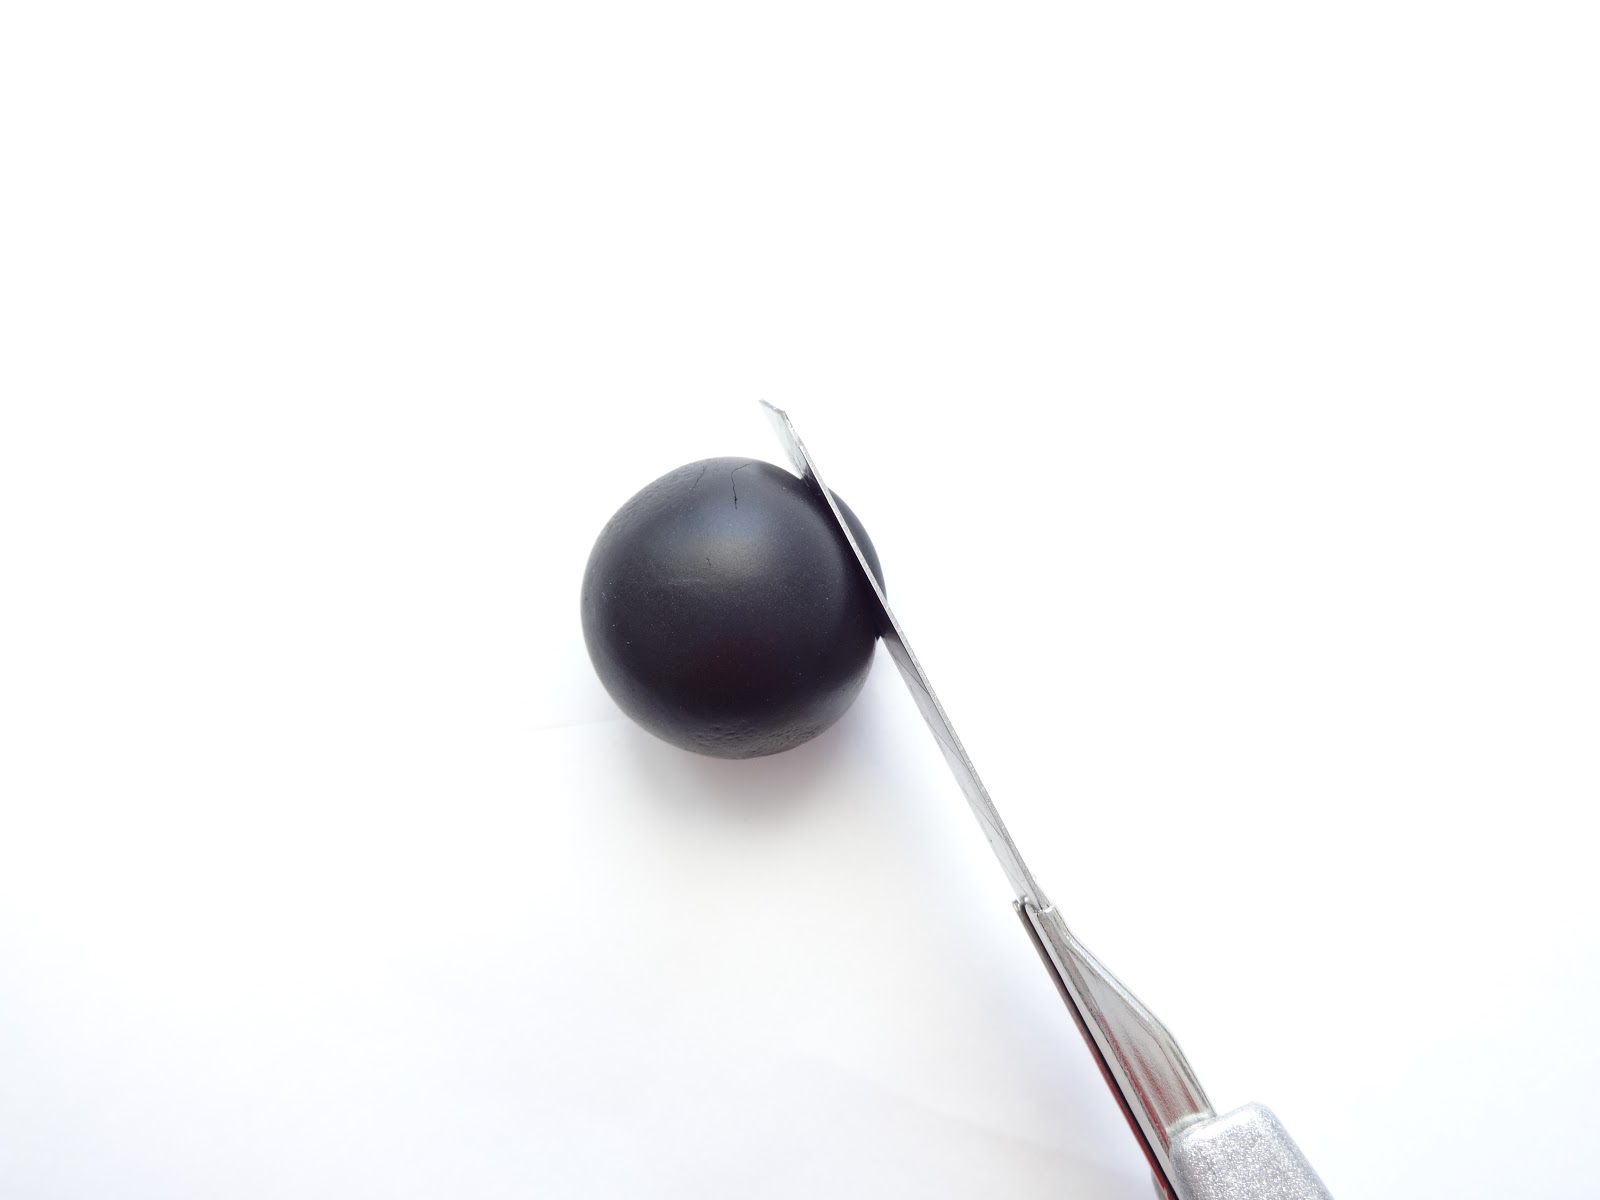
and press. Cut out with scissors. Attach the flat washer on the back of the card with some glue.
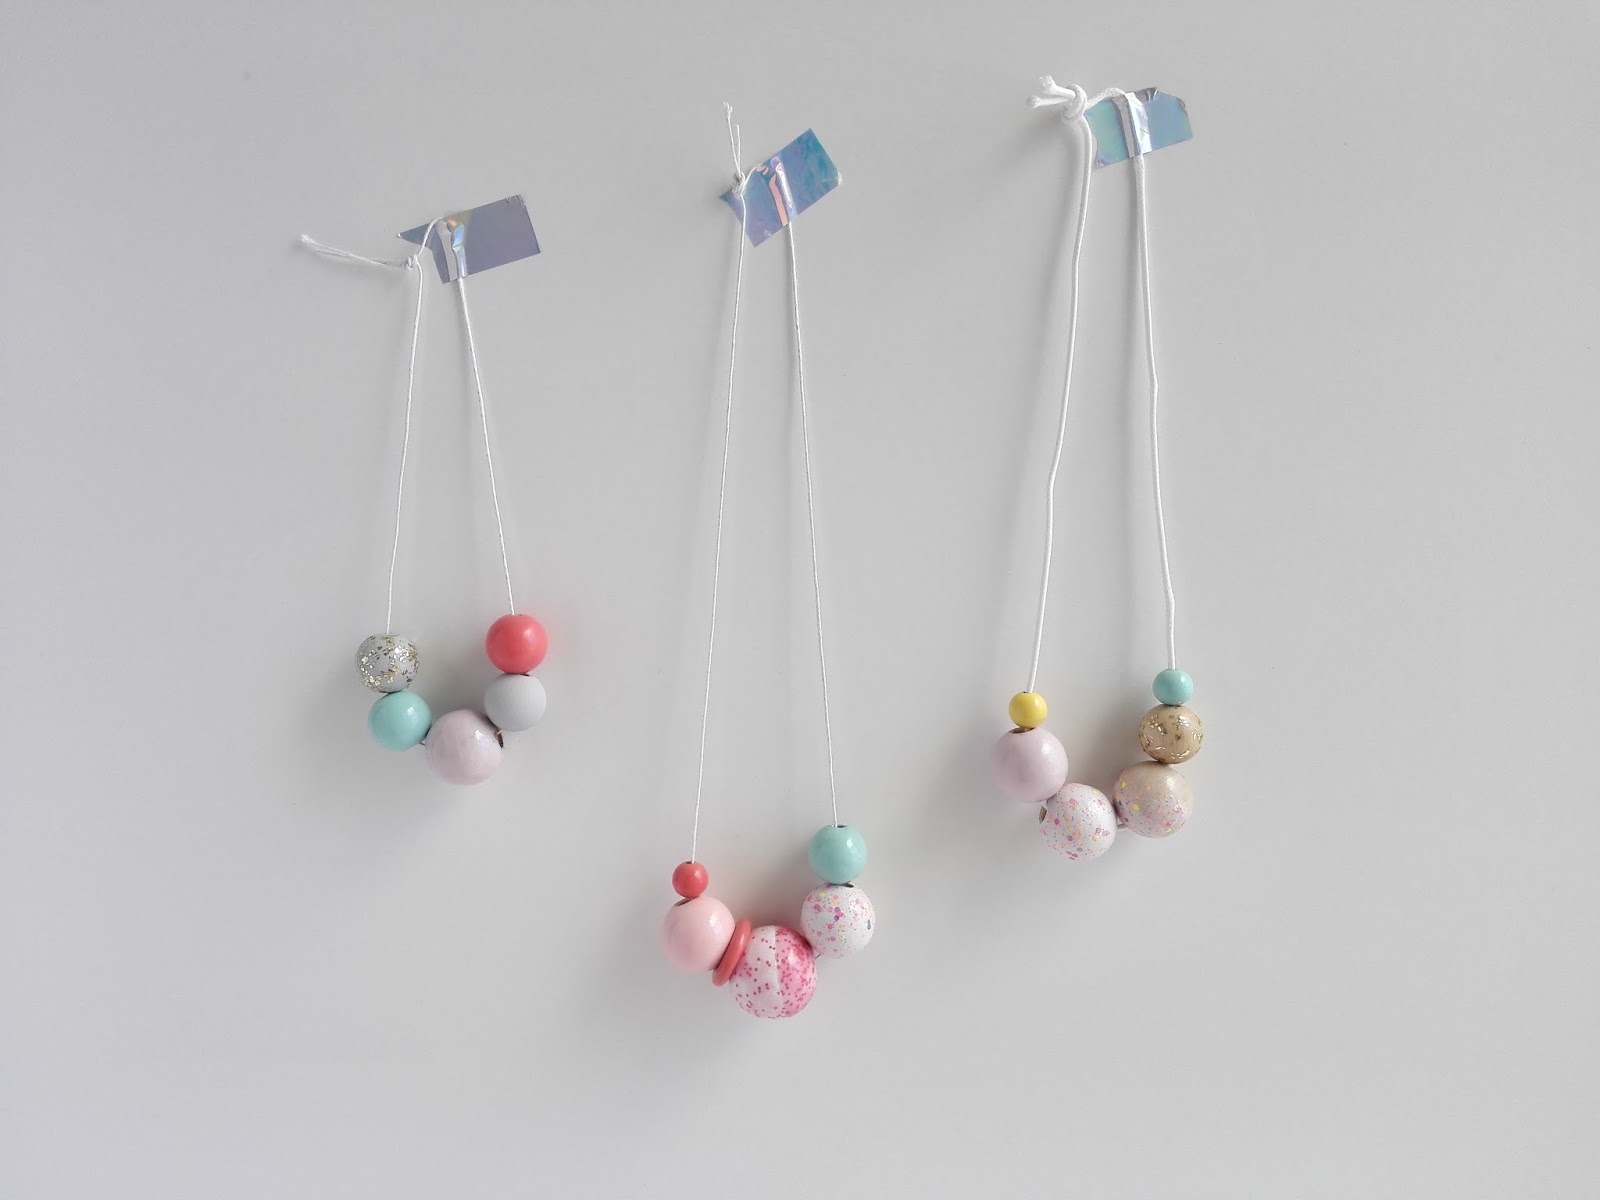
Once everything is glued down, set the pendant aside to dry for at least 20 minutes. Slide the
chain through the flat washer. Instead of the flat washer you can use a Hama bead.


/ Eine ausreichende Menge Kleber auf die Rückseite des Leders auftragen. Die Scheibe vorsichtig
auf die Klebeoberfläche legen und andrücken. Mit der Schere ausschneiden. Die U-Scheibe mit
 etwas Kleber auf der Scheibenrückseite anbringen. Sobald alles zusammenklebt ist, den
Anhänger für mindestens 20 Minuten zum Trocknen beiseite legen. Die Kette durch die
 U-Scheibe gleiten lassen. Anstatt der U-Scheibe kann man auch eine Hama Perle verwenden.

11.07.2015

POPPY COLLECTION / RING


Tools & Materials: scissors, pencil, small bowl, adjustable ring blank, clear
nailpolish, tissue paper, white card, glue stick and some jewelry adhesive.
Time: about 1 hour

/
Wekzeug & Material: Schere, Stift, kleine Schale, verstellbarer
Ringrohling, klarer Nagellack, Seidenpapier, weißer Karton, Klebestift und etwas Schmuckkleber.
 Zeit: ca. 1 Stunde


Lightly trace the outline of the samll bowl in pencil.
 / Den Umriss der kleinen Schale mit einem Stift leicht nachziehen.


Cut out with scissors on the inside of the line. / Innerhalb der Linie ausschneiden.


Apply a thin layer of glue to the card disk and place a piece of tissue paper on it.

/ Eine dünne Schicht Kleber auf die Kartonscheibe auftragen und ein
Stück Seidenpapier darauf platzieren.


Trim the excess tissue paper from outsides. / Überstehendes Papier abschneiden.


Apply again a layer of glue place a piece of tissue paper over the first one... Feel free to mix up
 your colors. You can smooth the edge with sandpaper.

/ Eine weitere Schicht Kleber auftragen und ein Stück Seidenpapier auf das vorherige 
platzieren... Nach Lust und Laune die Farben mischen. Den Rand kann man mit Sandpapier glätten.


For more durability: cover both sides with clear nail polish. To save time: let dry in fridge.

/ Für mehr Haltbarkeit: auf beiden Seiten Nagellack auftragen. Um Zeit zu sparen: im Kühlschrank trocknen lassen.


Last step! Adjust the disk with some jewelry adhesive and your POPPY Ring is done!

/ Letzter Schritt! Die Scheibe mit etwas Schmuckkleber befestigen und Dein POPPY Ring ist fertig!


___________________________________

28.04.2015

WOODEN BEAD NECKLACE


I'm always looking for doable and minimalist ideas. Moreover, this DIY connect beauty 
with usefullness. In this case that means: to create beautifull jewelry and use up leftover nail 
polish. Nail polish that is no longer good enough to paint nails is nonetheless well 
suited for this DIY. Nail polish in various colors, nail polish with flimmer gives special effects 
and simple cord, it does not take much more to create your own necklace. There are no limits
 to your imagination.

For those, who use nail polish little (like me), acrylic paint works as well.

/ Ich bin immer auf der Suche nach unkomplizierten und minimalistischen Ideen. Dieses 
DIY verbindet überdies das schöne mit dem nützlichen. In diesem Fall heißt das: schönen
 Schmuck herstellen und Nagellackreste aufbrauchen. Ein Nagellack, der vielleicht nicht 
mehr gut genug ist, um damit Nägel zu lackieren, ist trotzdem noch wunderbar für 
dieses DIY geeignet. Nagellack in ein paar verschiedenen Farben, ein Nagellack mit Glitter
 für besondere Effekte und ein weiße Schnur. Mehr braucht es nicht, um selbst eine Kette
 zu kreiieren. Der Kreativität sind keine Grenzen gesetzt.

Für alle, die nur selten Nagellack benutzen (wie ich), funktioniert dies natürlich auch mit Acrylfarbe.


SUPPLIES:   wooden beads  |  nail polish or acrylic paint  |  skewers  |  painters tape 
| cord or suede cording

MATERIAL:   Holzperlen  |  Nagellack  |  Holzspieße  |  Malerkrepp  |  Schnur oder Lederband


 Wrap a skewer with some painters tape. This will keep the bead in place and make it easier to paint.

/ Die Holzspieße mit Malerkrepp umwickeln. Das fixiert die Perle, was das Bemalen vereinfacht.


Paint the entire bead. You will most likely have to give your beads a second coat. Nail polish
with flicker on light ground turns out very pleasant.

/ Die Holzperle bemalen, meistens braucht es eine zweite Schicht. Nagellack mit Glitter
 ergibt auf hellem Lack einen eindrucksvollen Effekt.


Now place the skewers in a glass or styrofoam and leave to dry. Make sure the beads don't touch.
For those in a hurry: put the beads into the fridge to dry.
/ Nun die Spieße in einem Glass oder Styropor platzieren und trocknen lassen. Darauf achten, 
dass sich die Perlen nicht berühren.


Once all beads are dry it's time to thread them and complete the most beautifull necklace ever!

/ Sobald alle Perlen getrocknet sind, ist die Zeit reif, diese aufzufädeln und die schönste Kette
 aller Zeiten zu vollenden!


_______________________________________

18.03.2015

MIDWEEK PROJEKT // RING


You need: flat pad adjustable ring, clay, glue for jewelleries & cutter knife. Roll the clay into a
 bead. Use the knife to carefully cut off a small section of the bead. Let dry according to the
 manuel. Attach the bead to the ring, as appropriate you can previously smooth the cut surface
 with sandpaper. You´re done!

/ Man braucht: Ringrohlinge, Fimo, Schmuckkleber & Cutter. Die Modelliermasse in kleine
 Kugeln formen. Mithilfe des Cutters einen kleinen Bereich der Kugel abschneiden.
 Laut Gebrauchsanweisung trocknen lassen. Die Kugel auf den Ring kleben, ggf. die
 Schnittfläche vorher mit Sandpapier glätten. Fertig!

08.03.2015

BRACELET


You need about 12 inches of paracord, a clasp and some glue.
/ Man braucht ca. 30 cm Paracord (Nylonseil), einen Verschluss und etwas Kleber.


Now we have to tighten up our work. First pull gently both ends of the thread than go on with one
 loop and follow the thread - take your time -  till you reach one end of the thread.

/ Jetzt muss das ganze gestrafft werden. Beide Enden leicht anziehen und mit einer der Schlaufen
  weitermachen - bloß keine Eile - bis man ein Ende der Schnur erreicht.


Cut both ends of the thread a bit shorter than the perimeter of your wrist. Paracord is a little finicky, it
 will fray. Hold a flame on it for about 15 seconds till the fibres melt a little.

/ Beide Enden etwas kürzer schneiden als der Umfang des Handgelenks. Paracord ist ein wenig
kniffelig und franst leicht aus. Für ca. 15 Sekunden unter eine Flamme halten, bis die Fasern
 etwas miteinander verschmolzen sind.


Glue the clasps to the ends. / Die Verschlüsse mit Kleber an die Enden anbringen.